

 30s Revive Time
| Stats | |
|---|---|
| HP | 1758 |
| T-ATK | 1598 |
| DEX | 553 |
| S-DEF | 1155 |
| R-DEF | 1386 |
| T-DEF | 1232 |
 Rowdy
/ Rambunctious
Rowdy
/ Rambunctious
Increases damage dealt by 2% every time Redran kills an enemy, up to a max of 50% at 25 kills.
Redran's preferred base personality.
Hawkish
/ Belligerent
Increase damage based on the number of nearby enemies. (6% for 1-4 enemies, 12% for 5+ enemies).
Rock / Rock Star
( )
)
Rowdy + Hawkish all rolled into one. Also, 5% RDR.
Redran's finalized personality.

 Redran Laser (25 PP)
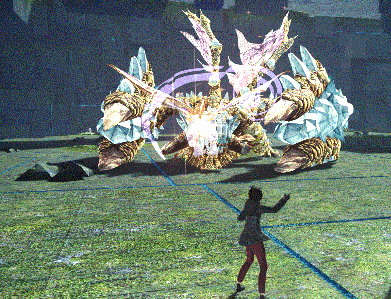
 Redran Slash (5 PP)
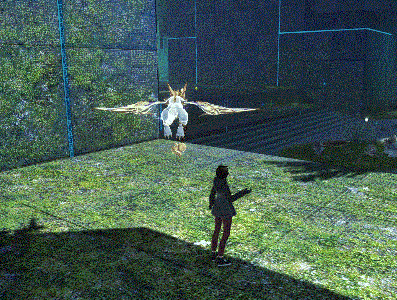
 Redran Mine (10 PP)
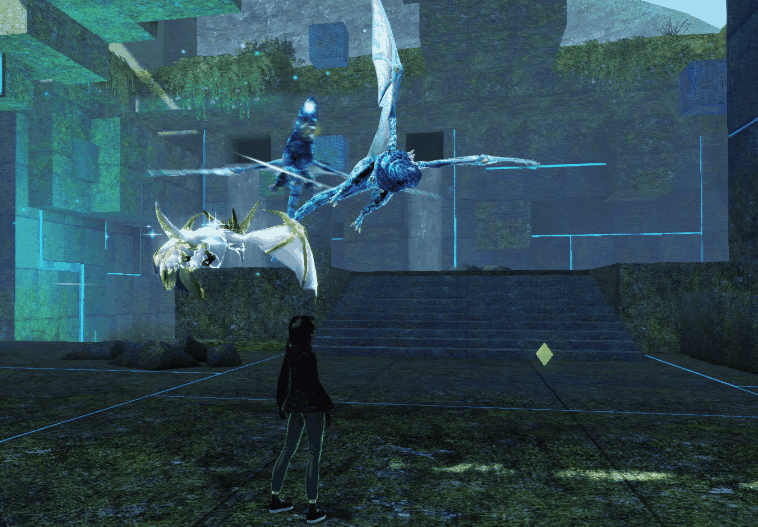
 Redran Gravity (15 PP)
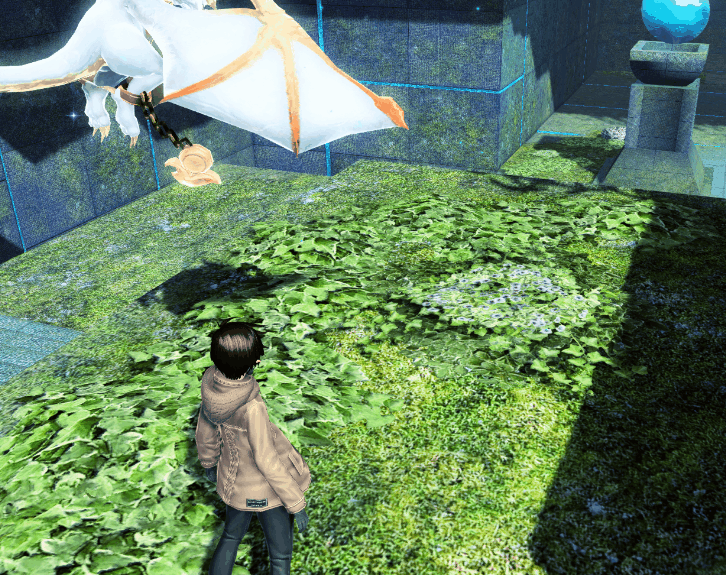
 Redran Burst (40 PP)

| Frames | Power | DPS | Notes | DPP* | |
|---|---|---|---|---|---|
| Laser | 30F First Lock 6F per Each Additional Lock 90F 8 Locks |
707 5656 |
499 3771 |
28.3 226 |
|
| Slash | 43F | 999 | 1394 | 198.8 | |
| Burst | 177F Full Charge 52F Redran Firing Burst 25F Delay between Bursts 12.5F per 1 Lock |
7200 900 |
2400 630 |
DPS doesn't account for Burst delay |
180 22.5 |
| Mine | 44F | 1934 | 2634 | DPS is for 4 enemies hit | 193.4 |
| Mine+Grav | 90F | 1934 | 1290 | 96.7 | |
| Normal Attack | 54F | 800 | 889 | DPP column refers to PP gained per second | 10 |
Information referenced from https://pso2.swiki.jp/index.php?%レドラン * DPP = Damage per PP spent
 15s Revive Time
| Stats | |
|---|---|
| HP | 1721 |
| T-ATK | 1571 |
| DEX | 646 |
| S-DEF | 1139 |
| R-DEF | 1355 |
| T-DEF | 1201 |
Rock
Provides Glass the bonuses of both of Redran's base personalities and +5% RDR.
Useful for 3-4 player endless runs.
Genius
Increases damage against bosses by 20% and greatly increases PP recovery.
Glass' bossing personality. Glass Laser (20 PP)
 Glass Slash (8 PP)
 Glass Mine (20 PP)
 Glass Gravity (10 PP)
 Glass Burst (35 PP)
| Frames | Power | DPS | Notes | DPP* | |
|---|---|---|---|---|---|
| Laser | 63F 1 Lock 65F 2 Locks 67F 3 Locks 69F 4 Locks |
3100 |
1431 2696 |
155 |
|
| Slash | 44F | 1212 | 1653 | 151.5 | |
| Burst | 102F Full Charge 52F Glass Firing Burst 44F Delay between Bursts | 4600 |
2706 |
DPS doesn't account for Burst delay |
131.4 |
| Mine | 44F | 2110 | 2877 | 105.5 |
Information referenced from https://pso2.swiki.jp/index.php?%グラス * DPP = Damage per PP spent